
Pothos plants are extremely easy to care for, and even easier to propagate!
This easy to follow guide will show you just how easy and fun these beautiful house plants are, from the very beginning!
In this step-by-step guide, I teach you how to propagate pothos plants in plain, straight out of the tap, water from fresh pothos plant clippings and very few tools. These plants take barely any effort to grow and even less effort to maintain!
Follow the steps below to create a lovely addition to your home or office, in a matter of minutes!
How to Propagate Pothos
An easy to follow how-to guide for propagating pothos plant clippings in water. This is a great project for the entire family or a peaceful way to create some much needed quiet time alone. All you need is a few supplies and approximately 10 minutes to spare!
Materials
- Pothos Plant or Pothos Plant Clippings
- Vase or Bowl
- Water
- A comfy place for your propagating pothos to live that has moderate natural light.
Tools
Instructions
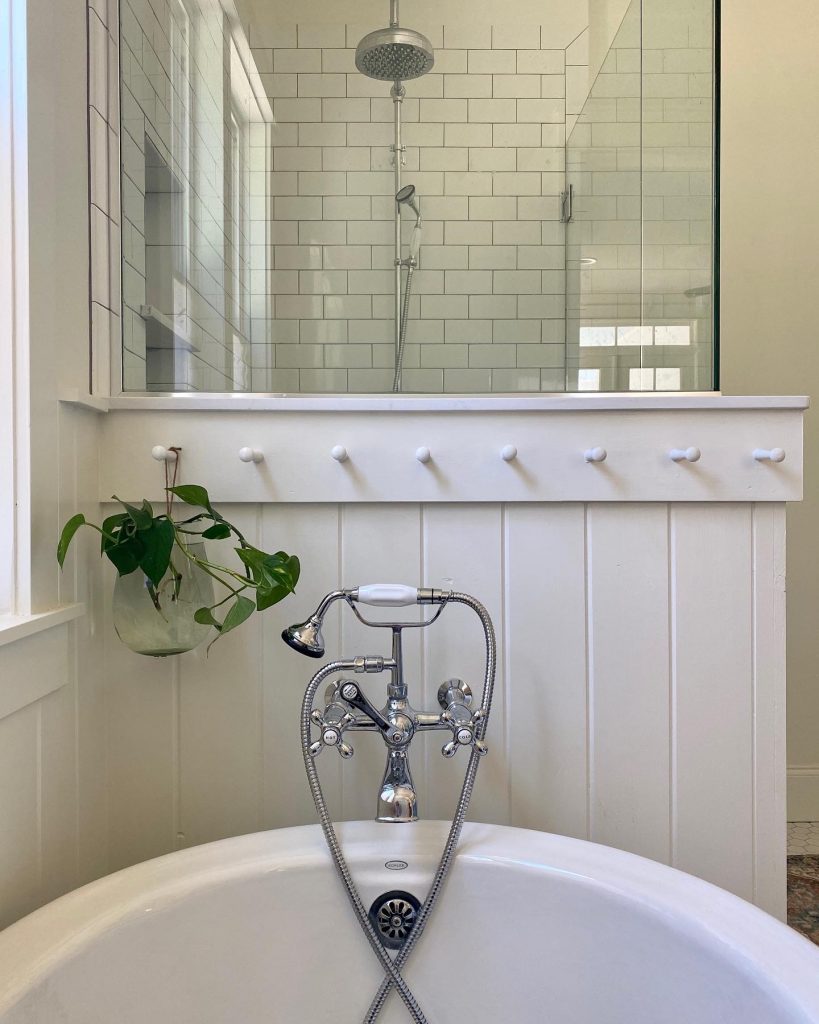
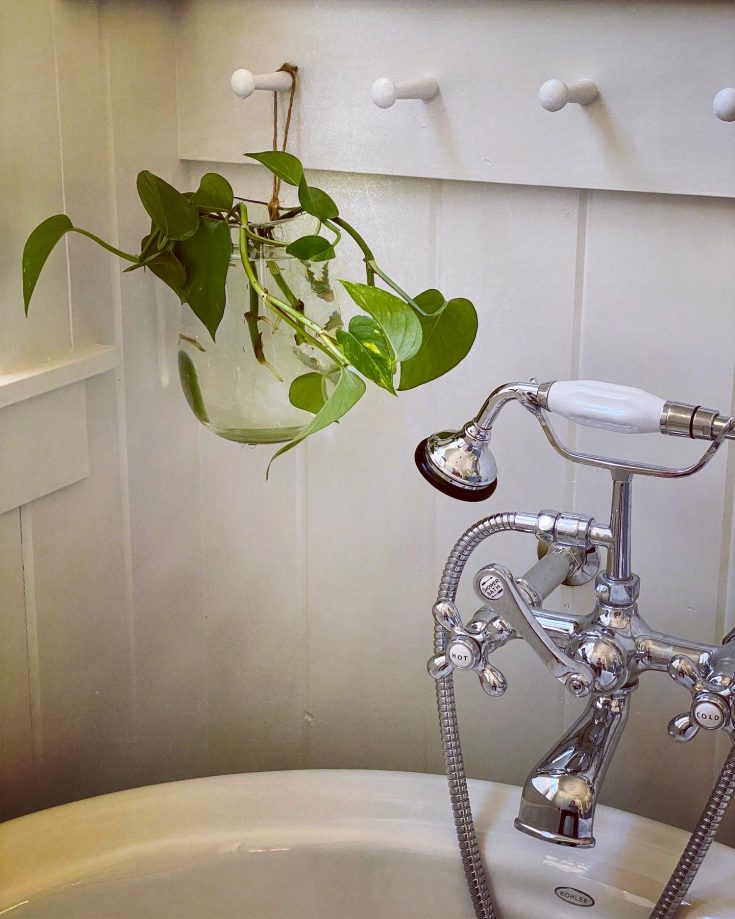
- First, gather all of your supplies for your Pothos Propagating Project. An elegant glass bowl or your favorite narrow vase; the depth and opening of your bowl or vase need to be able to keep your clippings from falling out since they will not yet have a root structure to help hold them in place. **TIP: I have this exact, simple glass bowl in my office with a thriving set of clippings, and compliments galore!
- You will need enough water to fill your propagating container and a good pair of plant snips or scissors to cut your clippings that you will use to grow your new plant babies!
- Also important is a comfy spot for your growing plant; a spot with moderate natural lighting helps strong and fast growing roots establish.
- Next, find a source for your propagating prospects....aka clippings. You may purchase a new, established pothos plant to gather your clippings from or you can prune a family member or friend's pothos plant for your clippings. **TIP: If you purchase an established pothos, you will have a readily available mother plant to share clippings with friends and family that fall in love with your propagating pothos and want to start their own!
- Once you've decided on the source, or mother plant, for your propagating prospects {For sake of being concise, I will now refer to the "propagating prospects" as "clippings"....even though "propagating prospects" is much more fun to say, hehe}....you will need to cut your clippings from your mother plant.
- To cut your clippings from the mother plant, cut with a pair of scissors or plant snips at roughly a 45 degree angle at approximately 1/4 inch from the 3rd leaf {near the area marked by the circle in this picture}
 **TIP: This does not have to be perfect! These plants are very forgiving 🙂
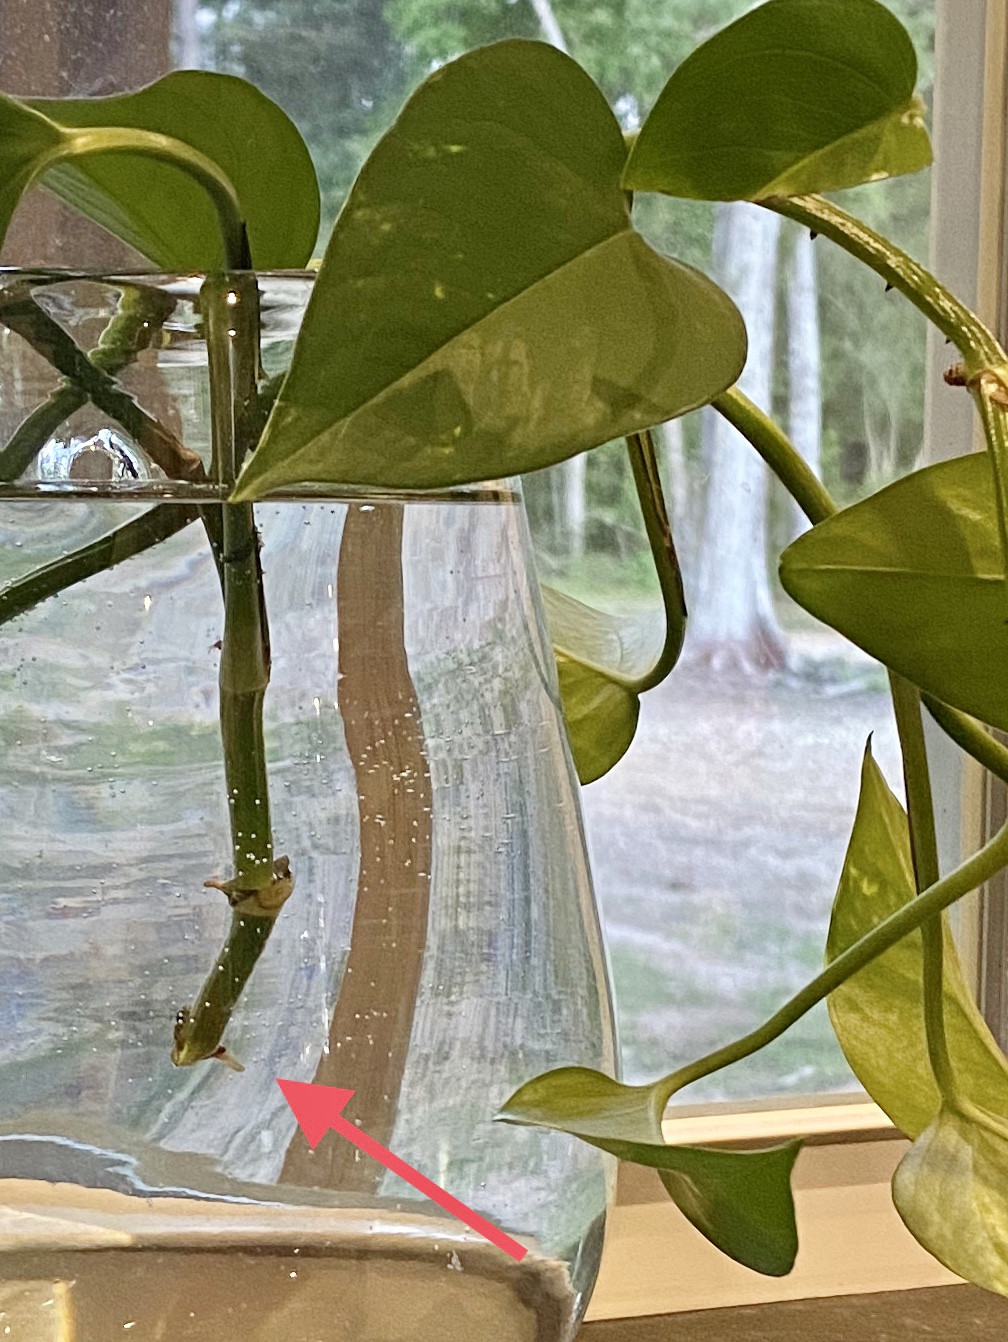
 - After you have your fresh clipping(s), if you are unable to place them directly into the bowl or vase where they will grow, you will need to place them directly into some water; to a depth at which at least 2 of the "root bumps" are able to remain under water when you let go of the clipping after placing it in the container. These root bumps will need to stay submerged for the life of the plant, even if you transplant to soil after roots established {root bumps marked with the red arrows in this picture}

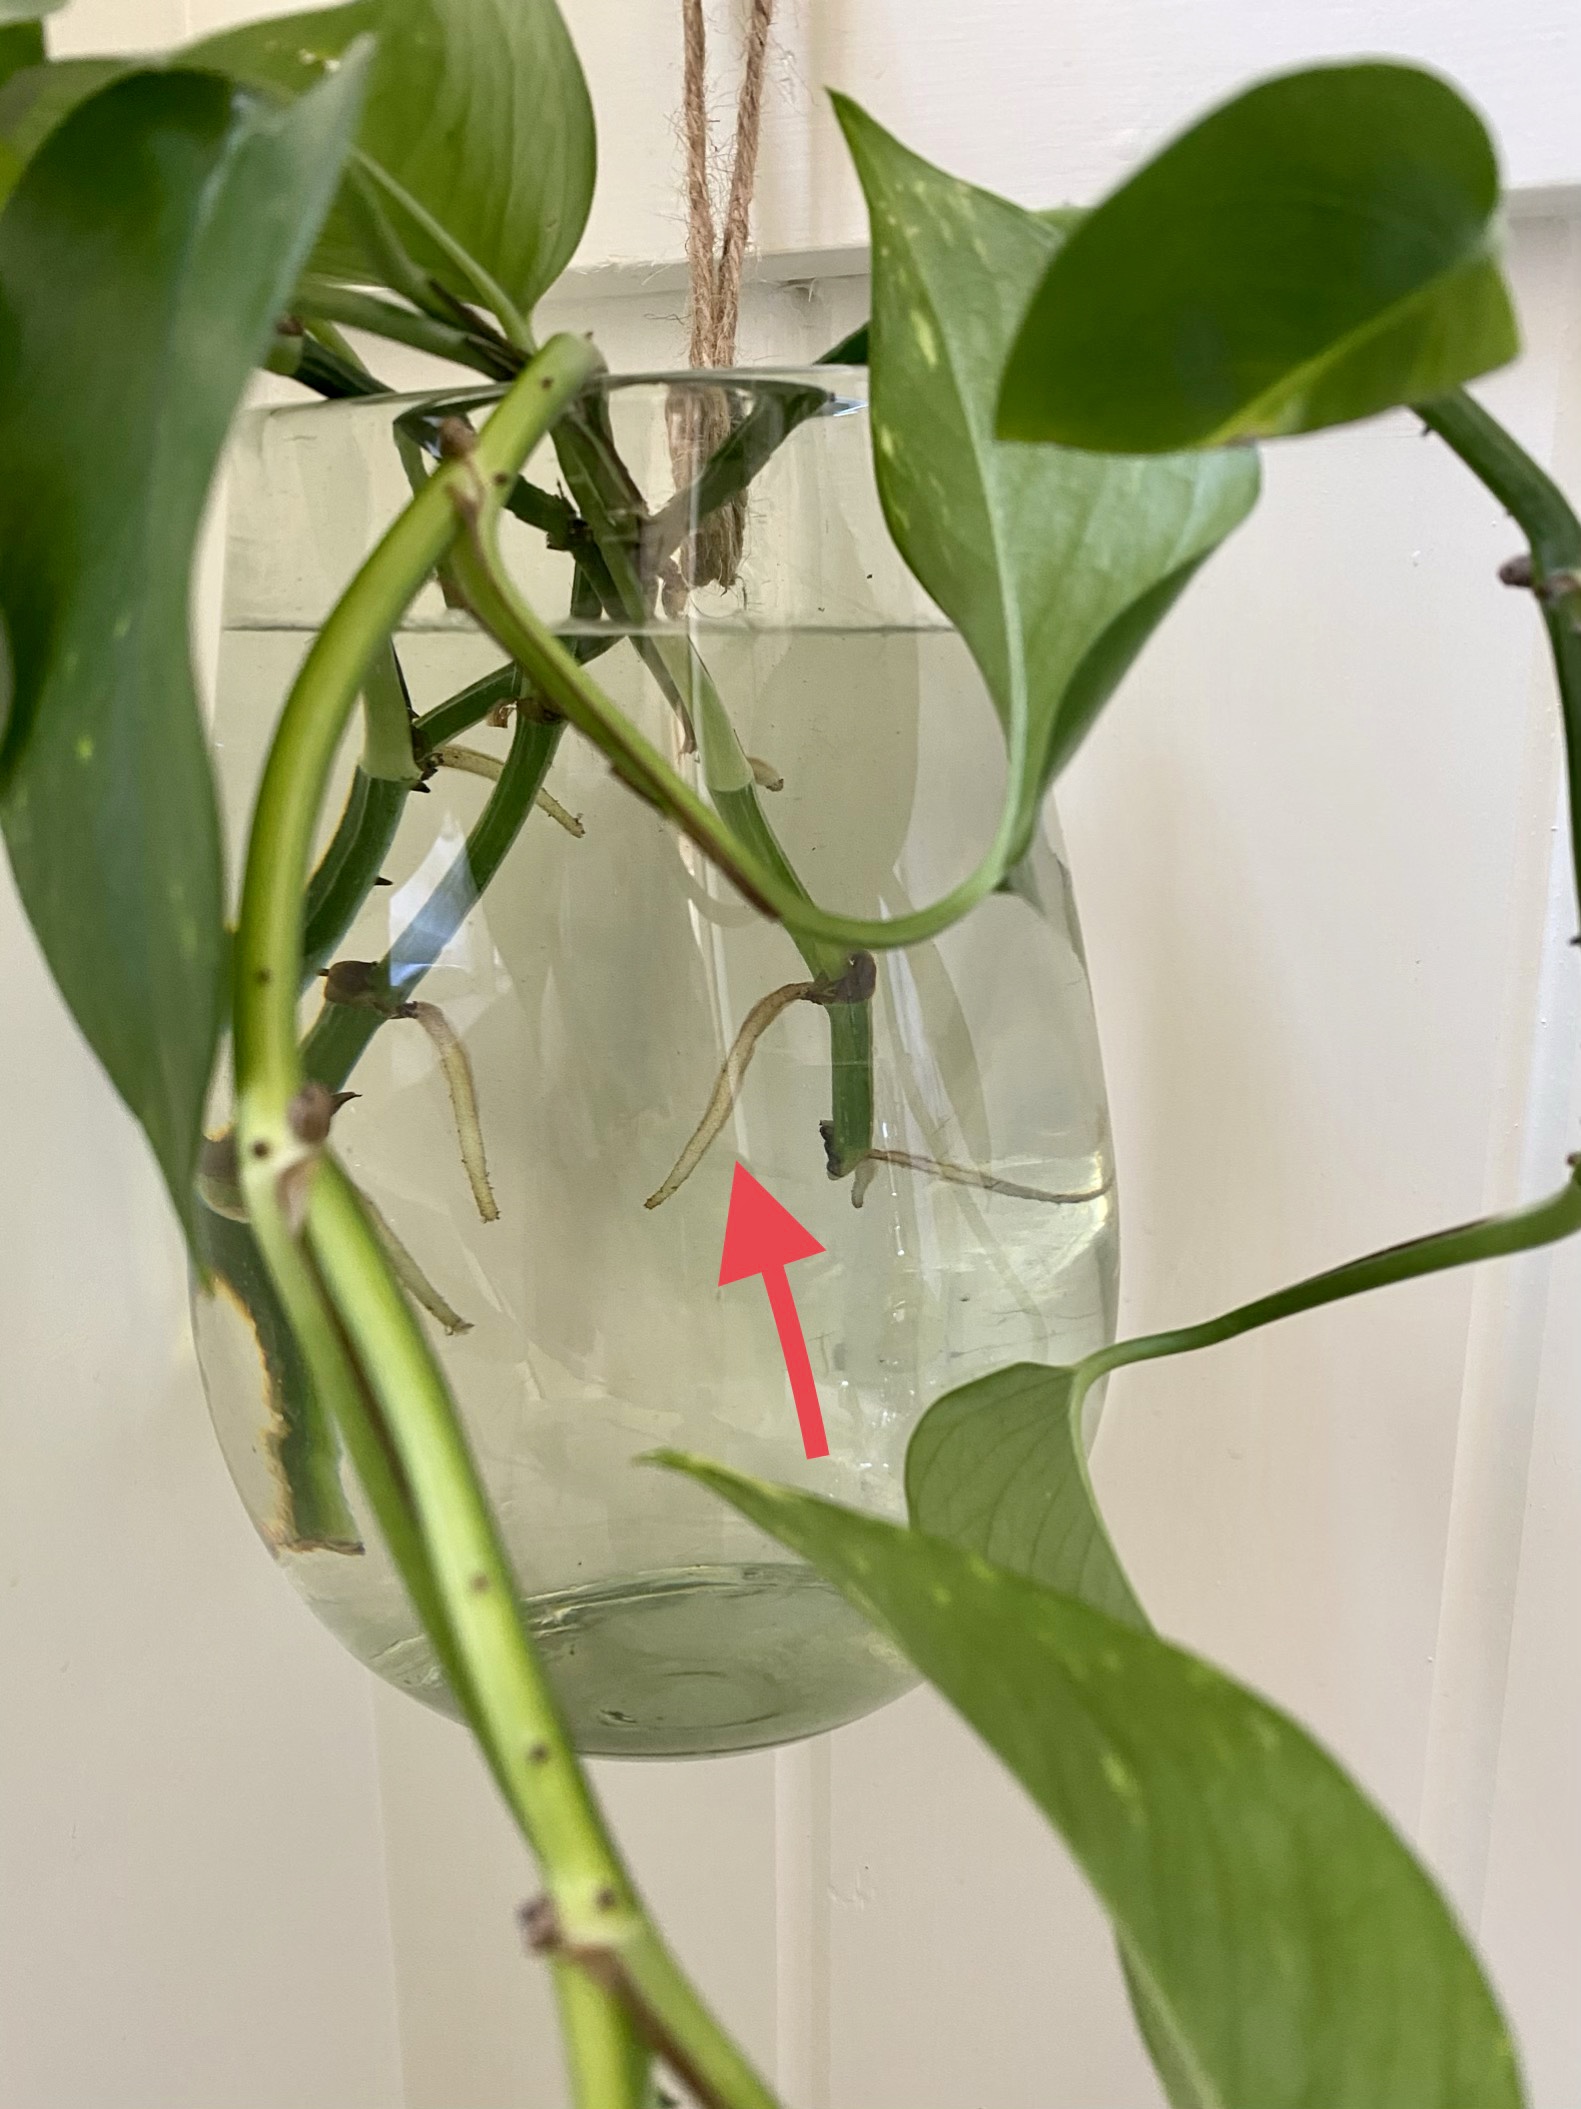
- Once you have your clippings situated in their grower bowl or vase, place the container with clippings in a room or space that will provide the growing plants with moderate natural lighting, at least until the roots are approximately 1 to 2 inches in length. **TIP: Pothos usually start to develop roots fairly quickly, but don't get discouraged if you don't see any concrete signs of new root growth for up to 7-10 days. As long as at least 2 of the root bumps on a given clipping stay submerged in water and the leaves of the clipping look healthy, you must be doing something right 🙂 See pictures for examples of root growth: First picture taken after *1 week of propagating and second picture taken after *2 1/2 weeks.
- You should be so proud of yourself! You have officially started propagating pothos plants!! Now just sit back, keep those root bumps submerged, and watch your gorgeous new house plants grow!
Recommended Products
As an Amazon Associate and member of other affiliate programs, I earn from qualifying purchases.


Pothos Care and Maintenance
Congratulations! You are now the new proud parent of propagating pothos!! Please pat your self on the back....ok, enough with the p's...I promise 😉
But seriously, how easy was that?! Believe it or not, the general maintenance for these beauties is even easier!
In order to take good care of your rooted clippings, you can either leave them in their lovely glass bowl or vase of water for their forever or you may want to transplant them into a soil filled container. It is completely up to you!
Pothos thrive in soil or only water! As long as their soil doesn't dry out for any extended length of time they will remain happy and healthy. I recommend regular watering, at least once a week.
If your pothos plant develops any blemishes, brown spots, or yellow leaves, simply remove the unhealthy pieces. Usually the yellow leaves come right off with a very gentle tug. The blemishes or brown spots on the leaves are easily trimmed away, leaving the healthy portion of the leaves, with scissors or plant snips!
That is how to propagate and care for pothos plants! Easy or what?!
Thank you for your interest in "How to Propagate Pothos Plants"!
I have always been fascinated with any plants, anything, or anyone that can just begin a completely new life with just a little water!
I hope you enjoy your new plant babies as much as I have enjoyed mine 🙂

To read more about Home on Magnolia Hill and the gal behind the scenes, click here.
Make sure to subscribe to our Newsletter below, so you can follow along and not miss a thing!
This post may contain affiliate links. Read my full disclosure & privacy policy here.
Look below for more posts you will love!